
Video Anonymization Checklist: Faces, Audio and Final Review
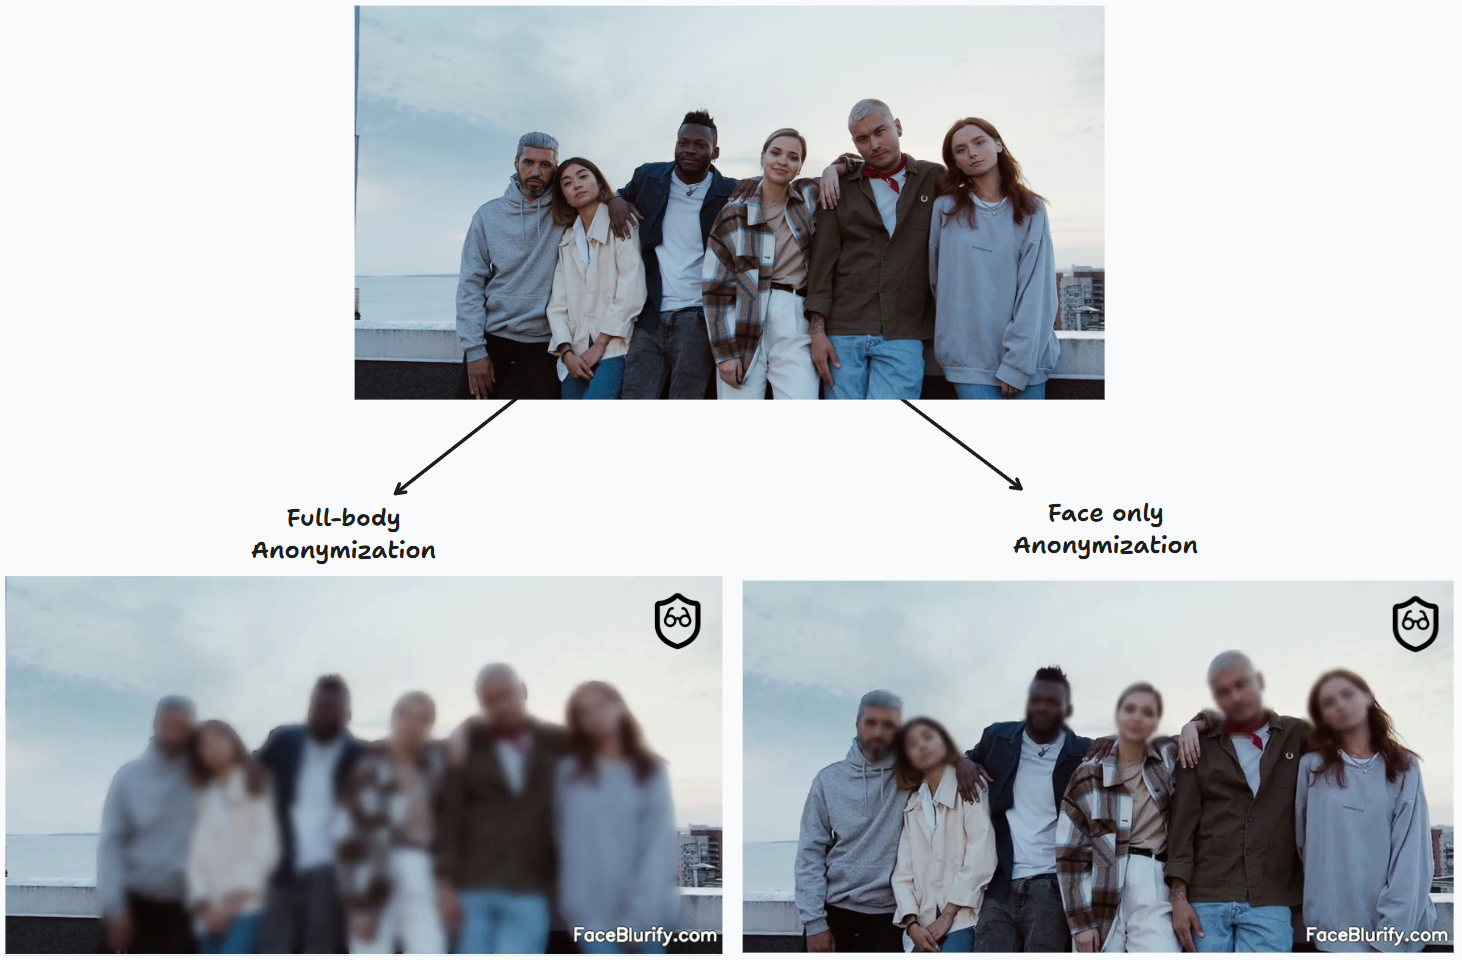
Start with a short face-blurring preview
Review the difficult scene first, then check faces, sound and context throughout the final export.
Plan the review
A useful video anonymization process has three parts: identify what could reveal a person, cover or remove those details, and review the actual file you plan to share. Blurring visible faces is one step; it does not automatically remove voices, names, clothing or location clues.
This checklist helps you review a public-sharing copy of interviews, event clips and other recordings. Keep any original you need separately and limit access to it. The checklist is not a certification that a video is anonymous or that a particular legal obligation has been met.
1. Decide what needs to be hidden
Before choosing an effect, watch and listen to the source. Write down who may remain visible and which details should not appear in the shared version. Consider the intended audience: someone familiar with the people or setting may recognize details that a stranger would miss.
| Possible identifier | Review question | Practical response |
|---|---|---|
| Faces | Are background people, profiles or reflections visible? | Cover each required face and check movement |
| Voices and spoken names | Does the soundtrack identify someone? | Remove audio when it is unnecessary, or edit the identifying parts separately |
| Badges, screens and documents | Can a paused frame reveal names or messages? | Cover the relevant region or remove the shot |
| License plates | Are license plates readable anywhere in the clip? | Use the plate workflow and review its output separately |
| Clothing and surroundings | Could a uniform, tattoo, address or setting identify someone? | Consider broader coverage, cropping, a shorter clip or another recording |
Do not infer that a detail is harmless merely because it is small during playback. Viewers can pause, enlarge or combine information from the video and its caption.
2. Match the tool to the task
For a clip where every detected face should be covered, start with the automatic video face-blurring tool. If particular people should stay visible, the face workflow's More options → Advanced editing opens the separate studio for individual face decisions and manual zones.
Use the license plate tool for visible plates. Face selection does not detect or select plates. When both are needed, follow the face-and-plate workflow and review the result of each pass.
Manual zones can cover a screen, badge or other chosen region, but their coverage must remain suitable throughout the relevant interval. A fixed region does not automatically follow a moving person. If broader clothing or body coverage is needed, evaluate the full-body tool and inspect its result too.
AR filters are creative overlays. Do not treat a face-tracked decoration as proof that facial detail or identity has been removed.
3. Test the difficult scene before exporting
In the automatic face workflow, the initial free, watermarked preview covers up to 15 seconds. Choose a scene with the most difficult movement, background people or lighting; an easy opening shot is not enough to test a whole recording.
- Use Scene to choose the preview interval. This does not set the exported range.
- Use Trim, when available, to choose the part you intend to export.
- Under Adjust, change Sensitivity if a visible face is missed. Higher levels can inspect more frames and take longer, and can also create unwanted detections.
- Change Strength or the effect when a mask is present but too weak.
- Select Apply & preview and wait for the revised result before comparing it.
Preview attempts are limited. Keep the scene constant and change one setting at a time. A stronger effect cannot fix a frame that has no mask; use the missed-face troubleshooting guide for that problem.
The free preview is watermarked. Exporting a chosen video range without a watermark requires sign-in and paid video credits; review the export panel and current pricing. Separate uploads and processing passes can require additional credits.
4. Make a deliberate audio choice
Face blurring changes the picture, not what a voice or spoken name reveals. Listen to the soundtrack from start to finish, including conversations in the background.
If sound is unnecessary, turn off Keep original audio and verify that the downloaded file is silent. If some speech is needed but other speech identifies a person, use an audio or video editor to remove or replace the relevant material. Keeping the original soundtrack should be a conscious choice after review, not a default assumption.
Also inspect subtitles, captions and title cards. Removing the soundtrack does not remove a name displayed on screen.
5. Review coverage across time
Review the processed clip at normal speed, then pause around moments where coverage may change:
- A face first enters the frame or turns toward the camera.
- Someone walks behind another person and reappears.
- The camera pans, shakes or cuts to a new shot.
- A small background face becomes larger.
- A face approaches the edge or leaves the image.
These checkpoints help locate gaps; inspect the frames between them as well. If a gap is difficult to assess, use a player or editor with frame stepping. For clips involving sensitive people or contexts, a second reviewer can help catch an overlooked face or identifying detail.
If a required region remains exposed, correct it with a verifiable mask, remove the affected section or withhold the clip. A finished processing job is not a finding that the content is safe to publish.
6. Review the full exported file
Open the downloaded export, rather than relying on the preview player. Check the entire selected range: the preview may represent only a small portion of it.
Before sharing, verify:
- The file is the processed export and the intended start/end range.
- Required faces and other regions stay covered throughout.
- The audio matches your keep/remove decision.
- Captions, thumbnails, filenames and the accompanying post do not reveal details you intended to hide.
- Only the intended edited copy is attached or uploaded.
If a platform recompresses or resizes the upload, inspect its version too. Keep the original out of the public post and its attachments.
What face blurring can and cannot establish
A well-positioned mask can hide the visual detail it covers. Recognition may still be possible from other information. The UK ICO's anonymization guidance likewise explains why removing obvious identifiers may be insufficient.
The practical goal is to check the whole shared item in its context. Where a release has legal or organizational requirements, obtain the appropriate review instead of treating a software setting as approval.
Frequently asked questions
Is a short preview enough to approve a long video?
No. It lets you compare a specific interval. Review the entire downloaded export, including sections outside the preview.
Should I always use the strongest blur?
Coverage and strength solve different problems. First ensure the mask covers the required region throughout the shot, then choose an effect that obscures enough detail. No strength setting fixes a missing mask.
Does keeping audio undo the visual masking?
It does not remove the visual mask, but a voice, spoken name or background conversation can independently identify someone. Review sound separately.
Does face blurring guarantee anonymity or legal compliance?
No. Faces are only one possible identifier, and the result depends on the footage, its context and how it is shared. Use this checklist to support a review, not replace it.